INSTALLATION
Installing Cabinetry, Wardrobes & Metal Screens.
Seven steps from survey to handover, and the detailing mistakes that only surface after the first year of daily use.
Seven steps from survey to handover, and the detailing mistakes that only surface after the first year of daily use.
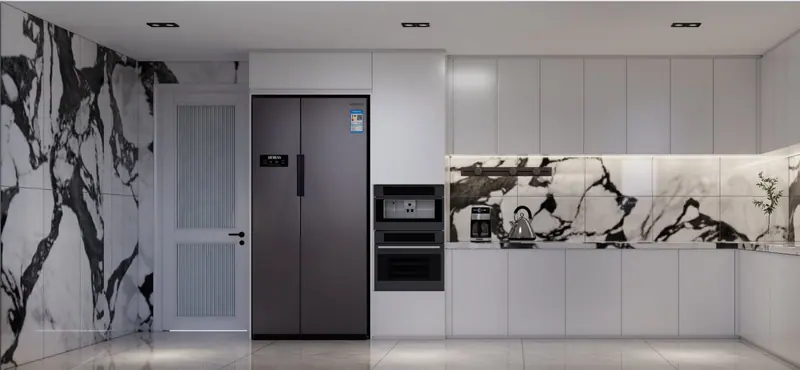
A beautiful kitchen or wardrobe is won or lost on site, not in the showroom. The drawings can be perfect and the panels pristine, but if the wall is out of plumb by 12 mm or the fixings are wrong for the substrate, the joinery will never sit right. Across our cabinetry, wardrobe and metal-screen projects, here is the sequence we follow — and the errors we are most often asked to put right.
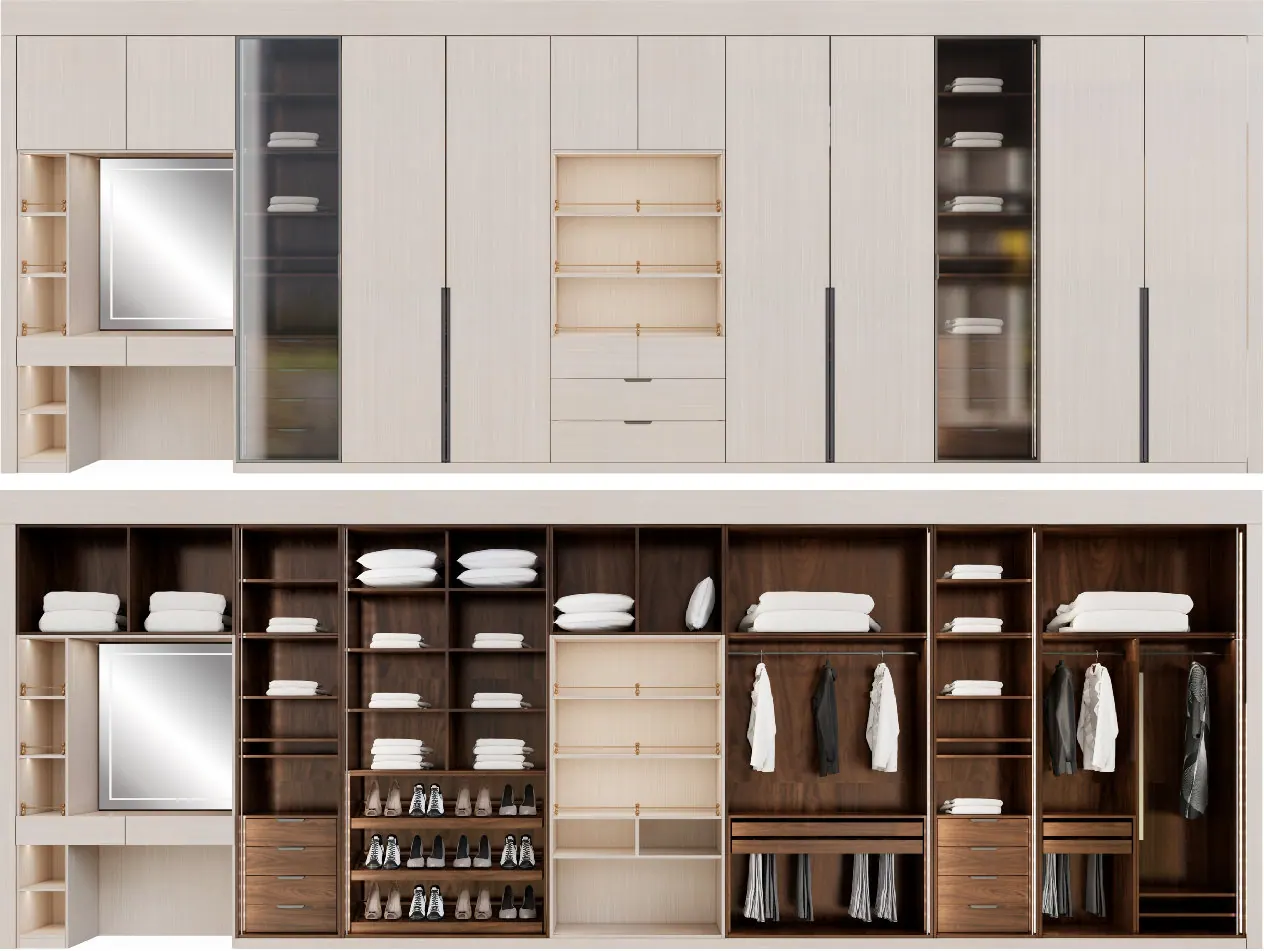
Nothing is built until the room is measured in three dimensions. We laser-scan the walls, floors and ceilings, because heritage plaster and freshly poured slabs are rarely square. A wardrobe that looks straight on paper can reveal a 15 mm twist on site. This step decides every scribe and filler panel later.
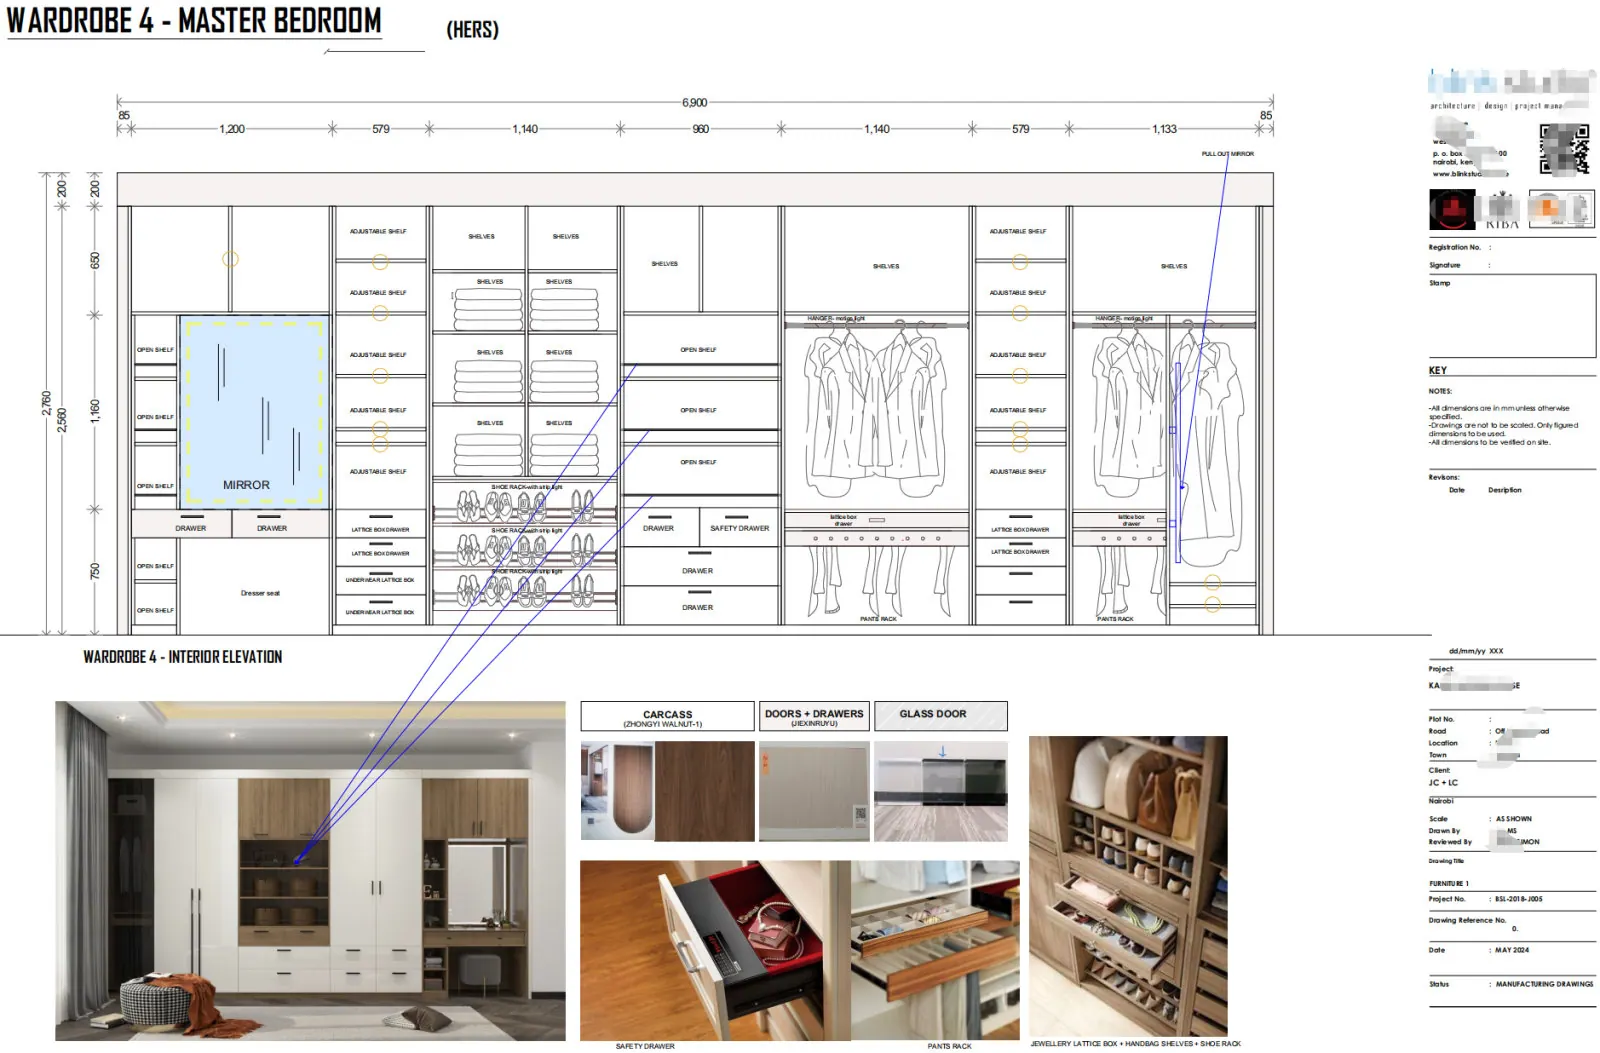
Every carcass, every opening and every fixing is drawn to scale and signed off by the client before manufacture. This is where we catch a door swing that blocks a passage or a handle that clashes with a splashback. No panel is cut until the drawing is approved — it is the cheapest place to fix a mistake.
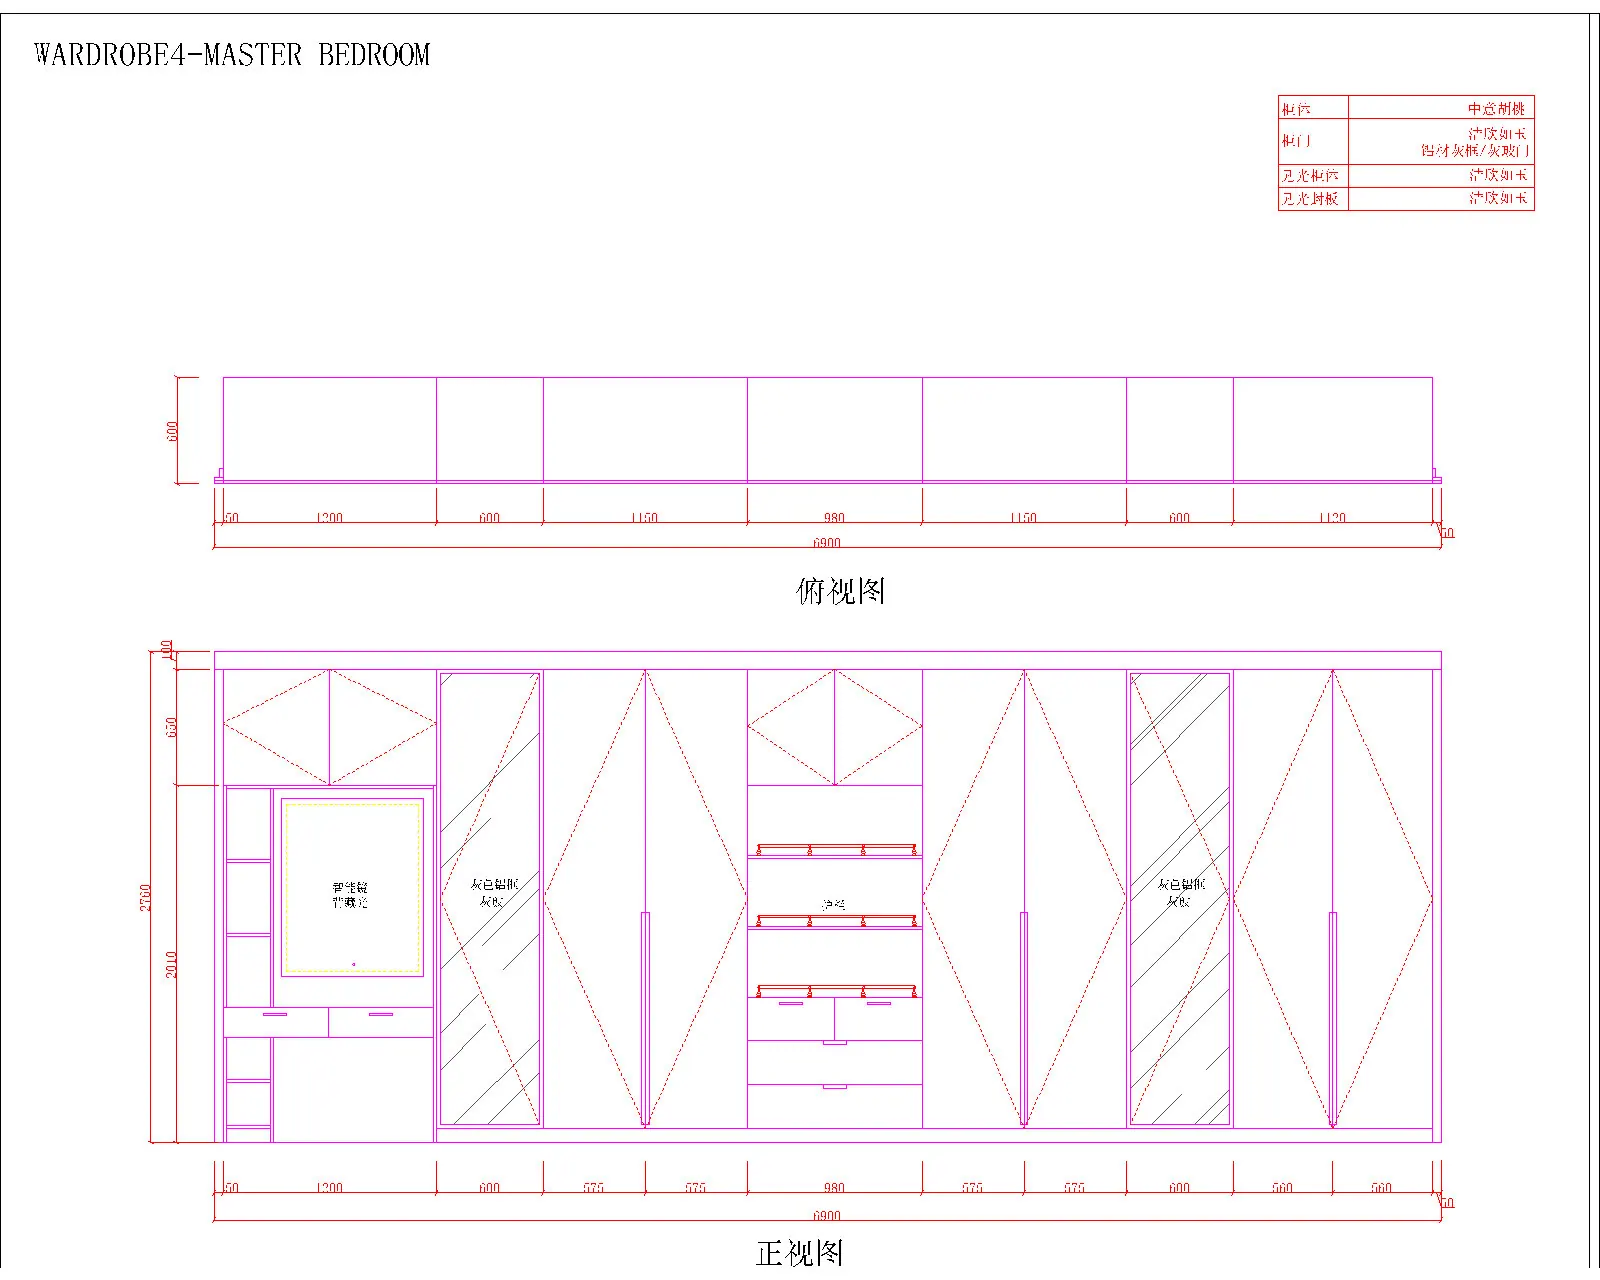
Carcasses are cut, edged and pre-drilled in the workshop, then flat-packed for site. The critical detail is edge-sealing: every cut edge of a veneer or MDF panel is sealed on site so humidity cannot wick in. An unsealed edge at the sink run or plinth is the single most common cause of swelling we are called to repair.
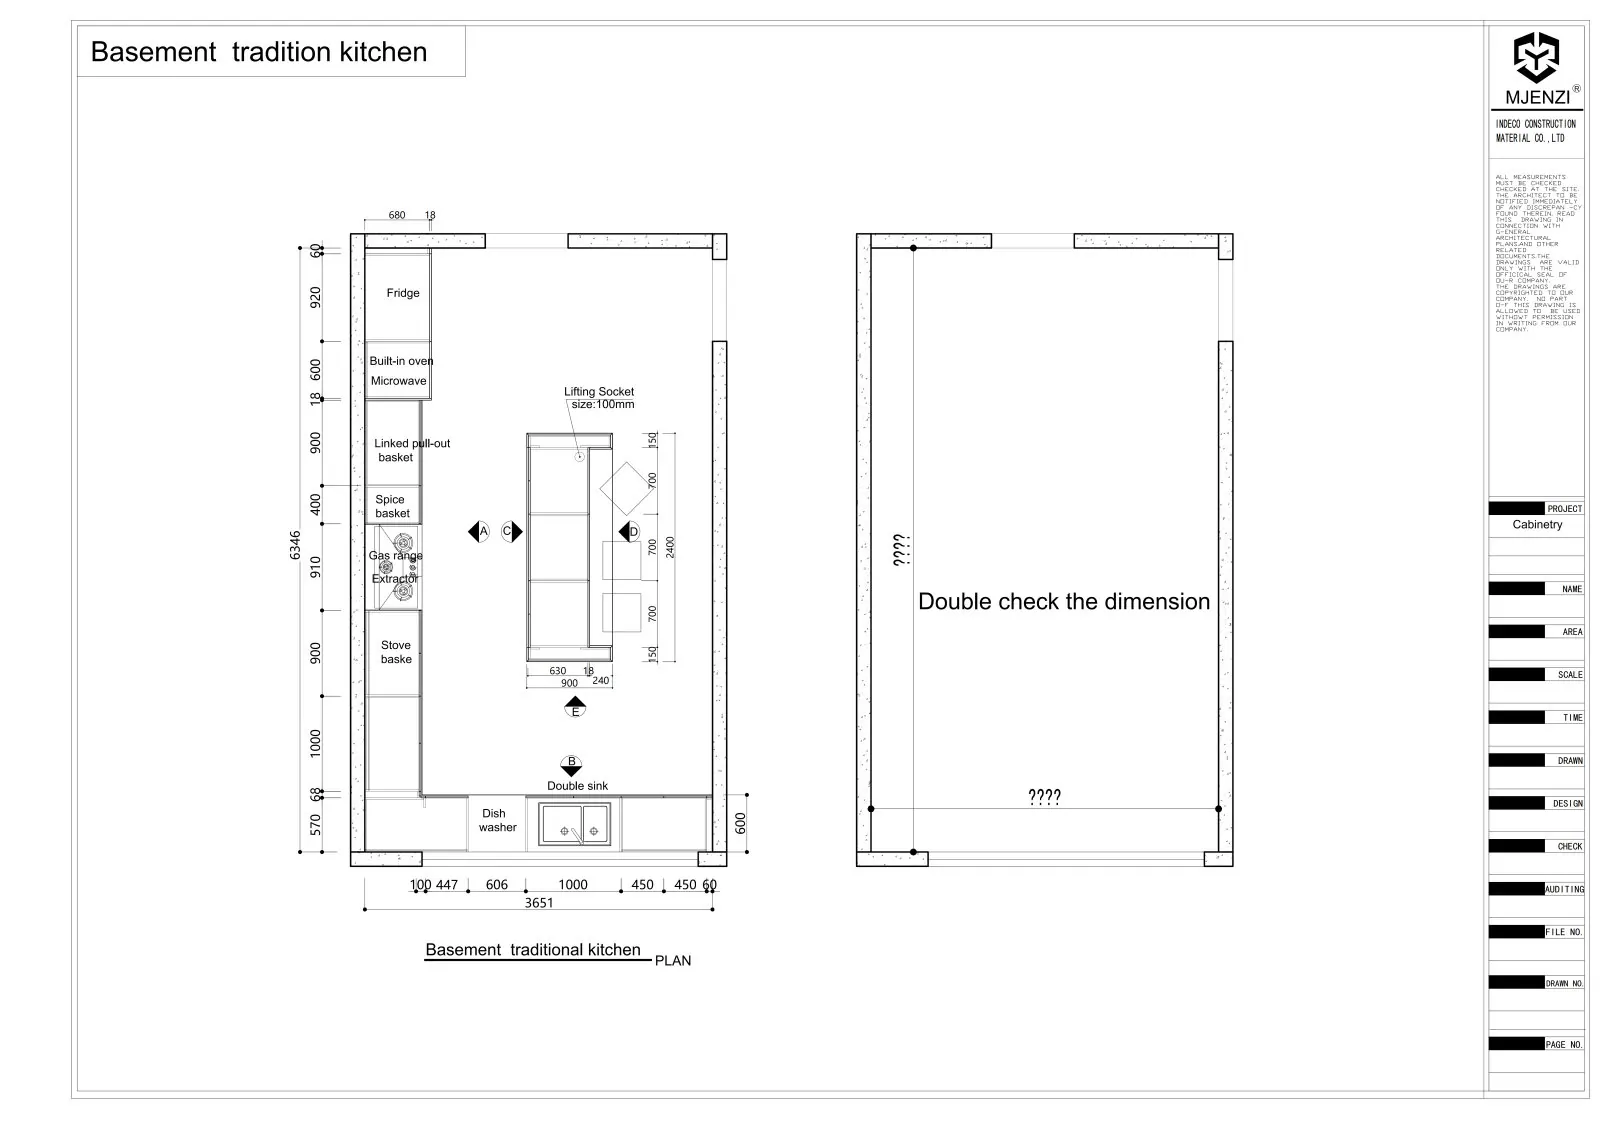
Units are set to a laser level, not a spirit level against a bowed wall. We fix to the structural substrate with the correct anchor for the material — masonry plug, cavity fixing or timber batten — and never to tile or skim alone. For any exposed metal we use the marine-grade fixings our solutions process calls for in coastal and humid rooms.
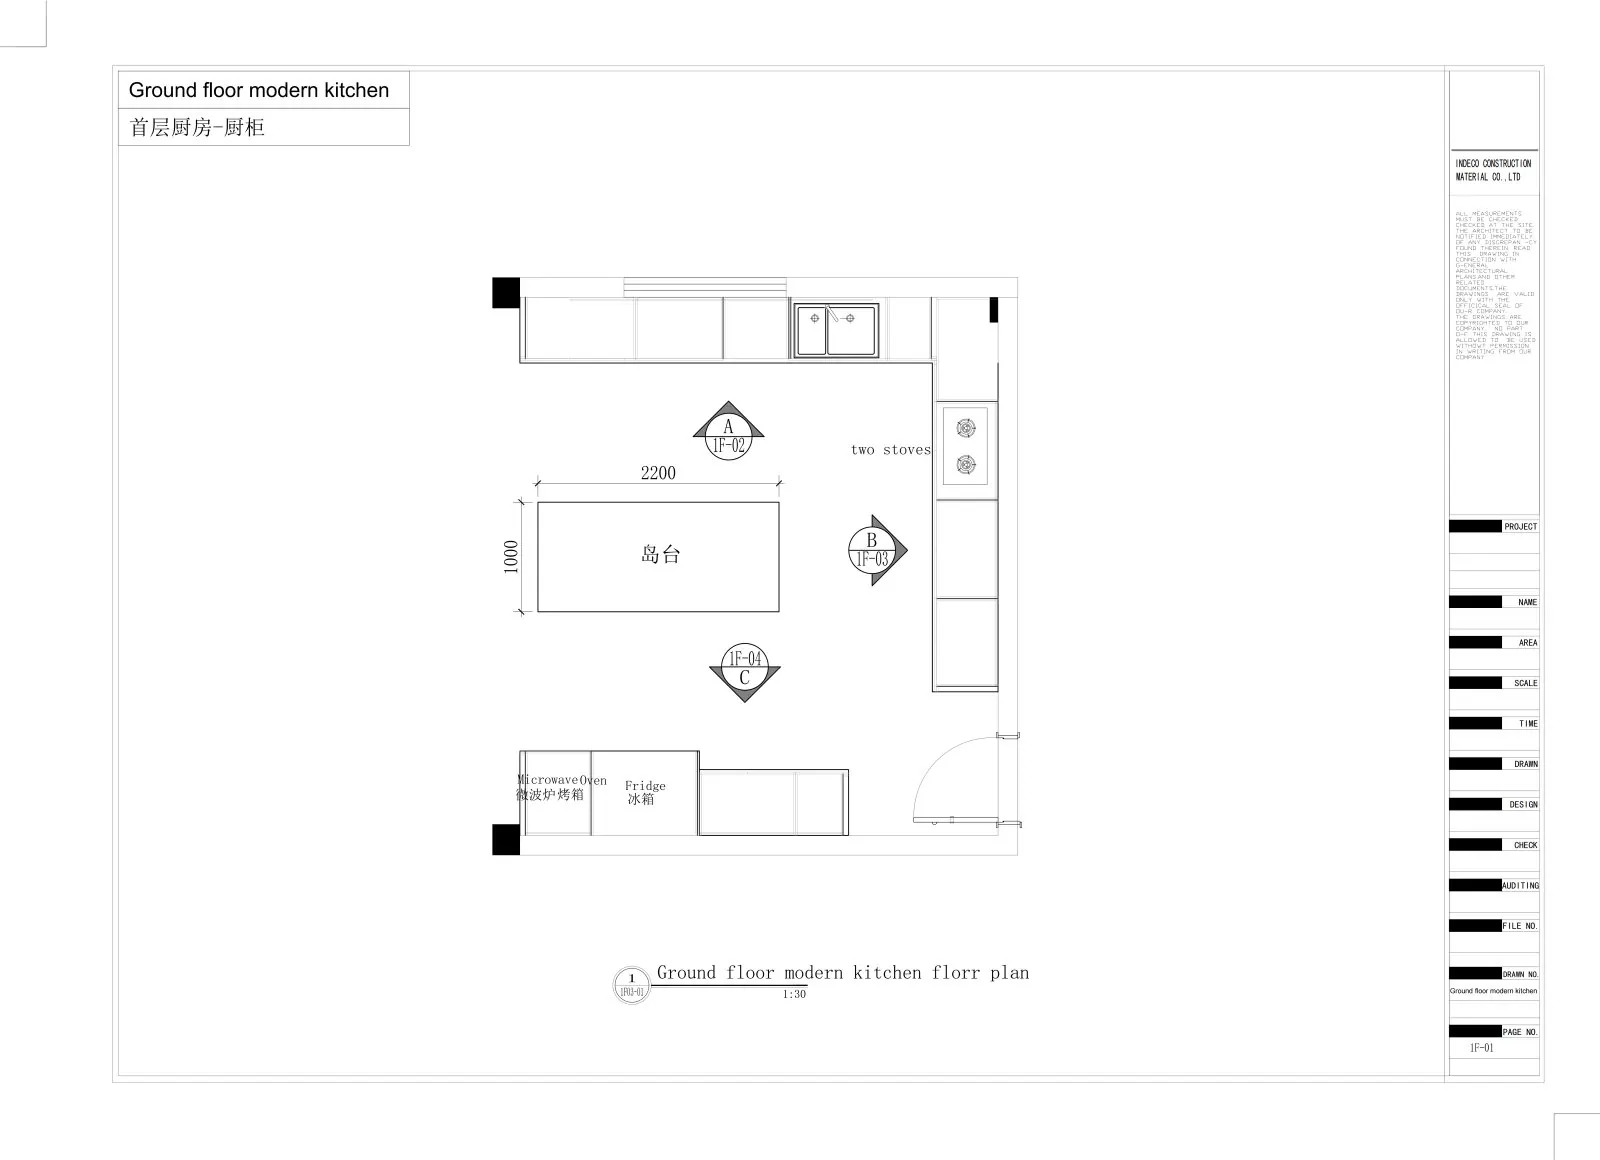
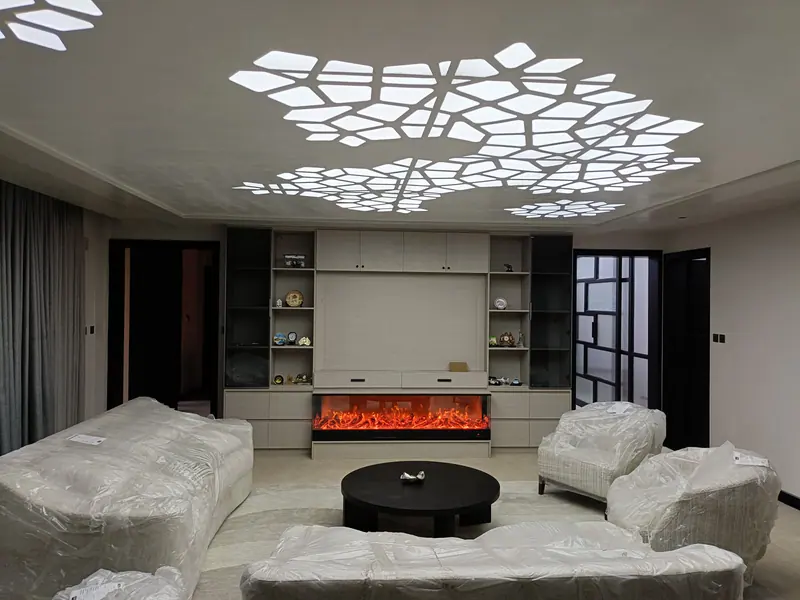
Where the cabinetry meets the architecture — a balustrade, a room divider, a feature screen — the metalwork is templated, welded or bracketed, then finished in place. Tolerances are tight: a screen that is 4 mm out reads as broken. We integrate the screen into the same drawing set so the join is deliberate, not accidental.
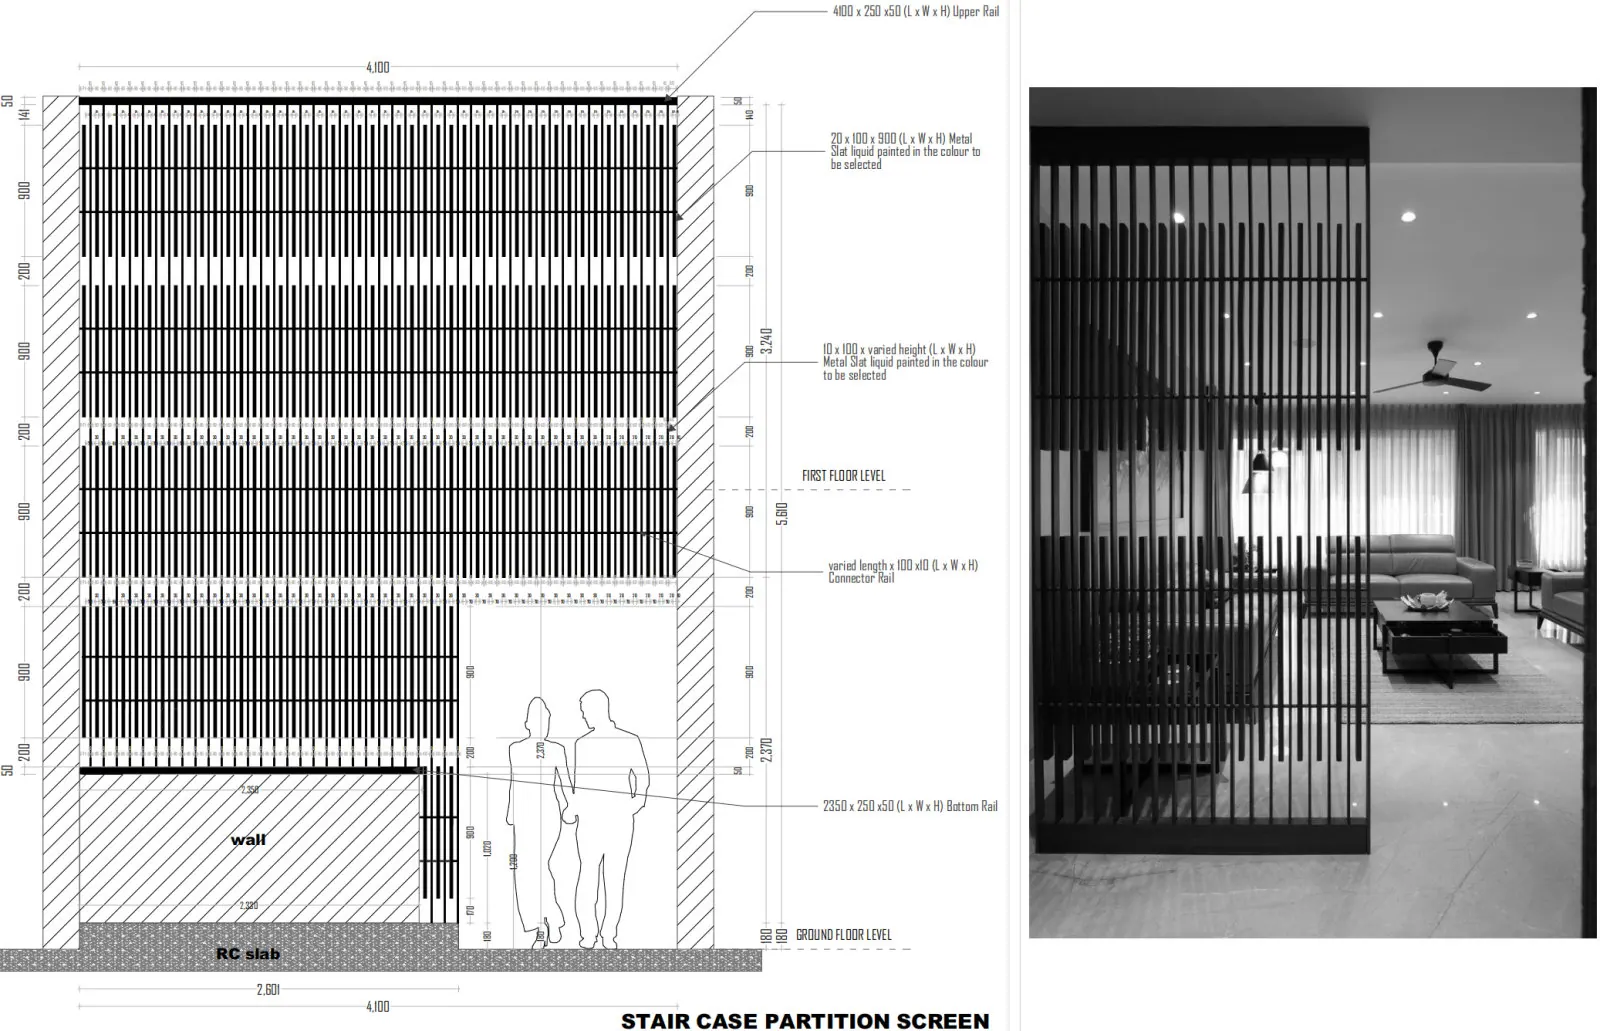
Doors are aligned, hinges tuned, soft-close dampers set, and handles fitted last so they are not damaged during build. Lacquer and veneer are touched up in situ. This is the stage that turns “fitted” into “bespoke” — and the one most installers rush.
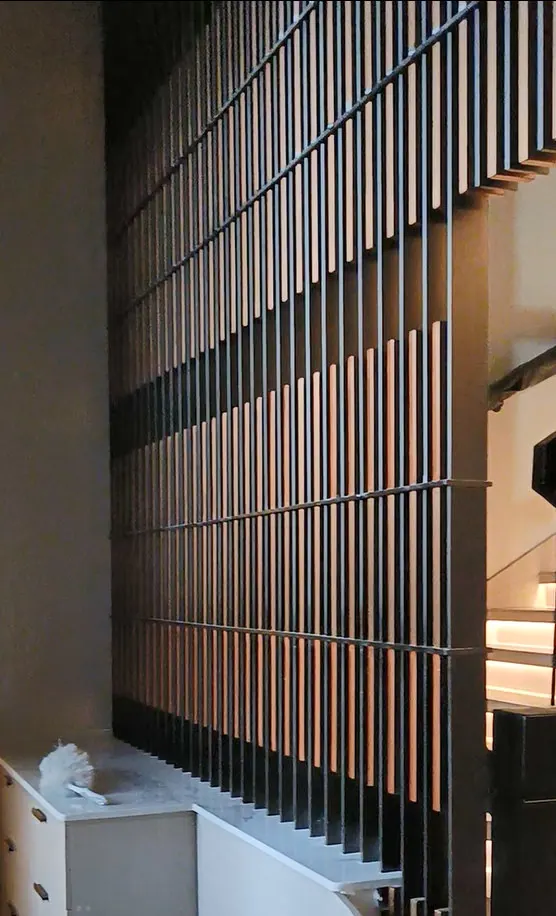
We hand over with a care sheet: what to clean with, which hinges to check after the first seasonal movement, and what is covered. A kitchen or wardrobe is a moving system, and the first six months settle it. Clients who follow the care note rarely see a call-back.
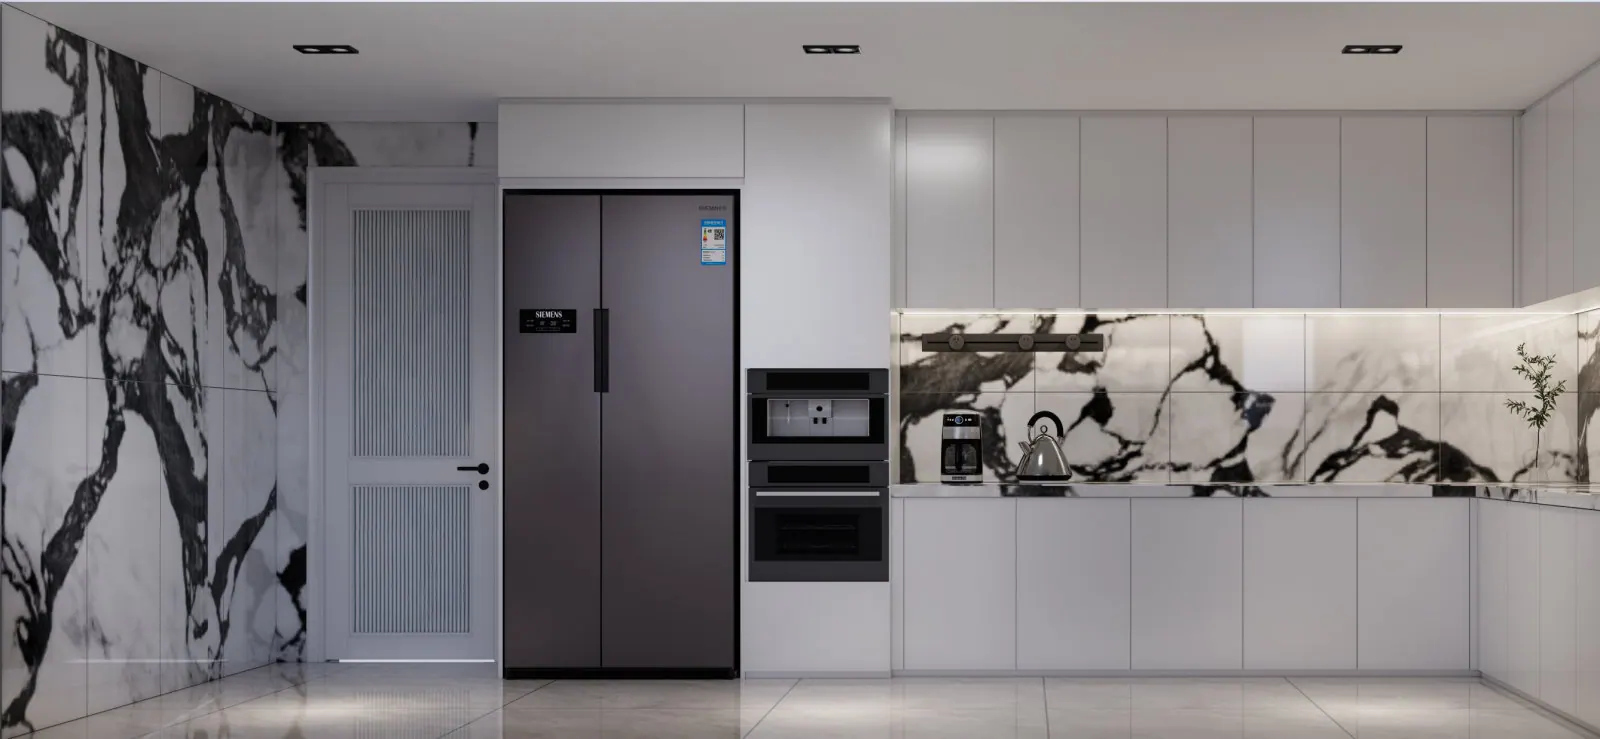
Send us your room dimensions and a photo of the space. We return a survey plan, a fixing schedule and an itemised BOQ — typically within one working day. Browse our completed projects or read the companion materials guide.
Request an Installation Quote →